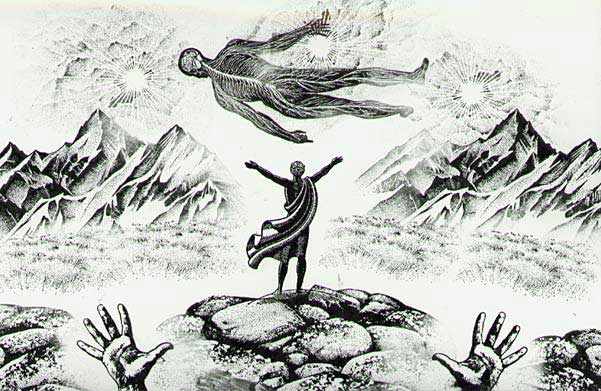
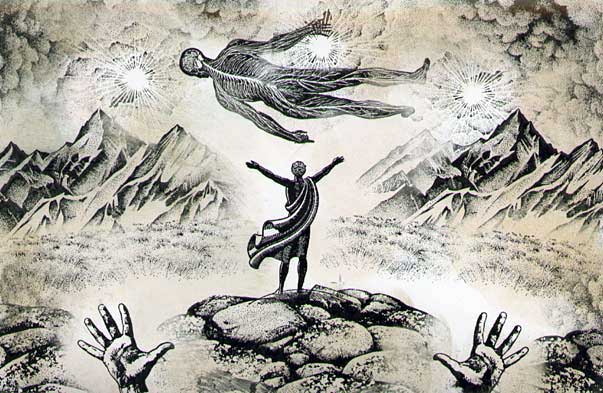
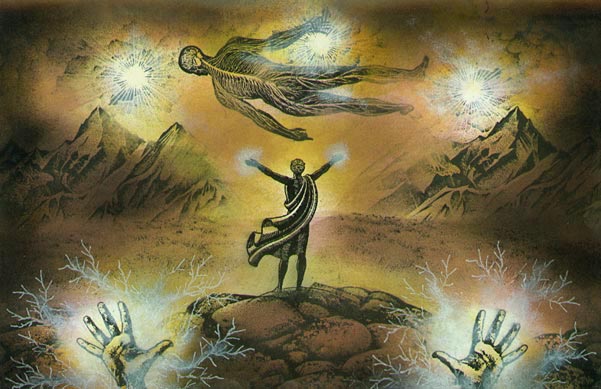
Hands of Levitation
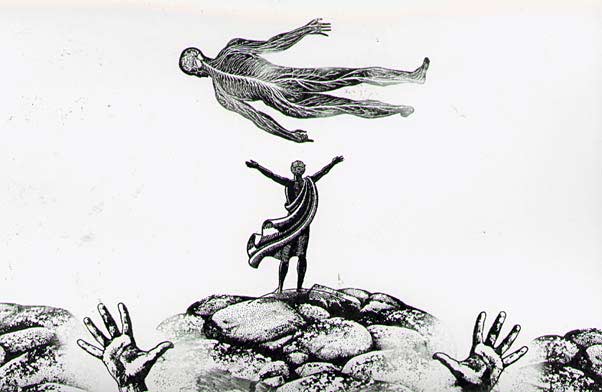
1) Hands P4813 & P4814, Man 4778 by 100 Proof Press. Body Electric by Onion Arts. Boulders w/Lichen 205F by Stampscapes. All stamped in black.
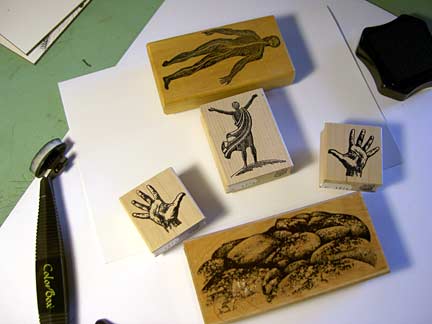
Structure is set.
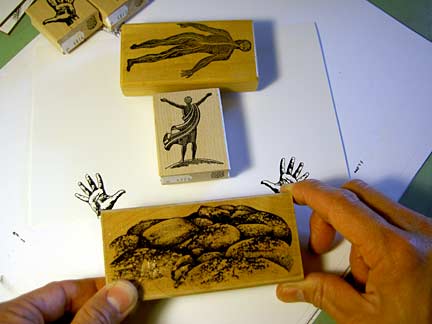
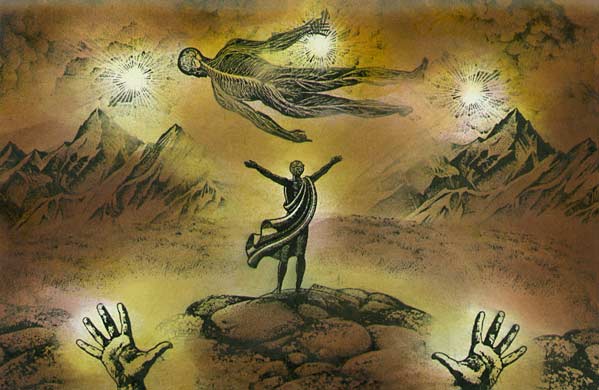
The hand impressions were made. To avoid having to mask the hands, where the Boulders w/Lichen would overlap them, I figured out where --on the stamp-- that overlap would occur.
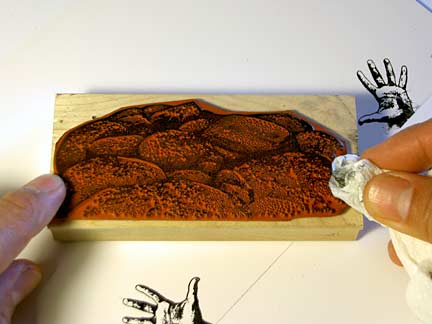
In the areas where the overlap would occur, I wiped off most of the ink so that the impression would stamp out lighter to not at all.
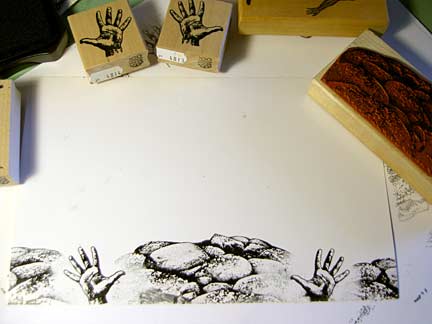
Center impression was made and to each side of the hands. Wiping off of ink was done for the side impressions as well.
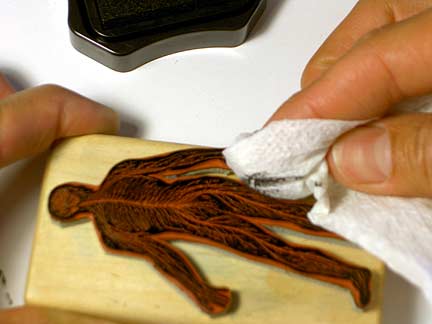
I wanted to "light" the figure as well so ink was blotted off here and there on the body. In those areas the body would stamp out lighter.
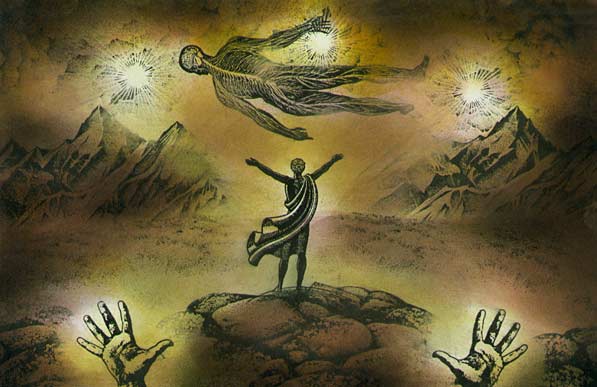
2 Cloud w/Sun 107E, Rocky Peaks 199F and Sedge Filler 251C were stamped. Notice how the mountains are lighter in some areas. This is where I wanted to the sun to be shining on them so the wiping with a paper towel was done there. The suns were also wiped around the edges of the stamp in between the inking and stamping. This way they fade out around the edges and, thus, blend into the surroundings.

Multiple impressions of the Sedge Filler were done.
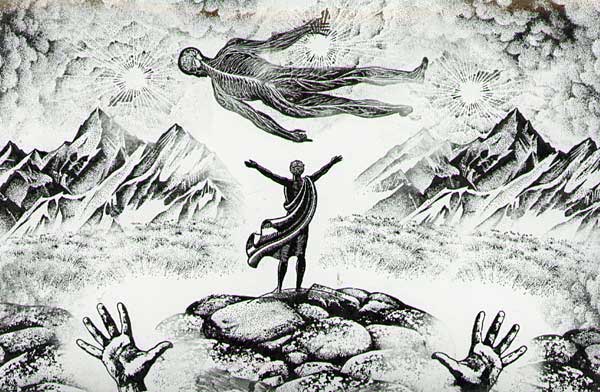
3 Cloud Cumulus 018E was stamped in black to fill in the rest of the sky.
4) A Colorbox Stylus Tool was used to set the lighting scheme. Ranger Industries "Sandal" and a Marvy Matchables #16 "Pale Orange" were used. The suns were left the white of the paper to establish them as the main light sources.
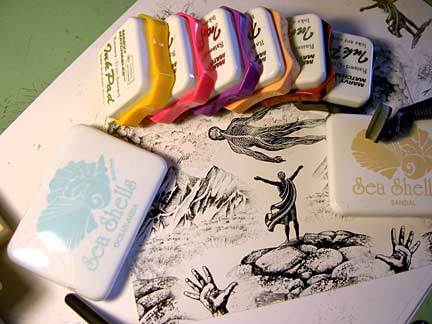
Pads were laid out to see if the color scheme was harmonious. I usually have a general color scheme in mind but I recommend to those in my workshops to physically lay out the pads starting from light to dark to actually see the progression. Make the scheme visual and you'll remove much of the uncertainty of whether or not a color scheme will work.
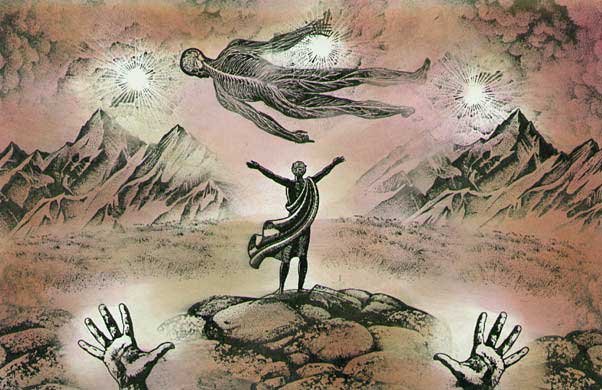
5) Marvy #6 "Brown" and #31 Pale Violet were added with a Stylus Tool. The lighting scheme is becoming more apparent.
Tapping tone on to the scene.
The scene was looking anemic to me so I decided to go for broke and to greatly brighten up the color scheme with a Marvy #43 "Brilliant Yellow". Then I darkened the shadows more with a Marvy #18 "Dark Brown". Ink applied with the Stylus Tool.
To round out the value scale and to increase the contrast, Marvy #1 "Black" was added. to the perimeter and shadows of the scene.
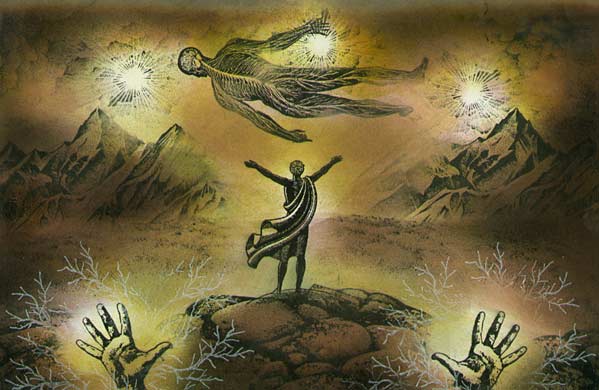
Crooked Limb 097E was stamped in a Brilliance "Moonlight White" around the hands. The limbs were to read like crackling energy.
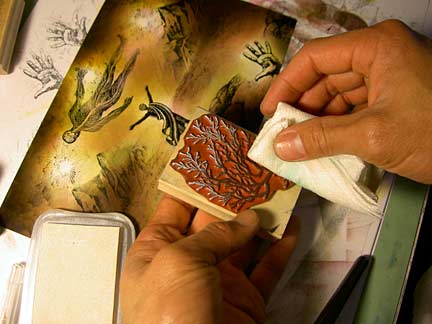
I didn't want the limbs to overlap the hands so I wiped some of the ink off where the limb would overlap the hands.
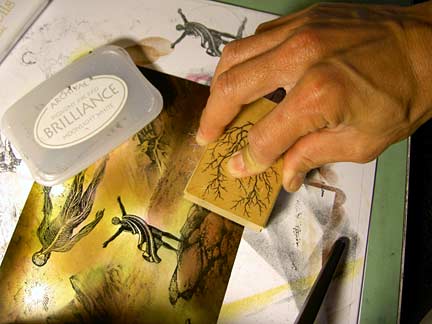
Making the 097E impression.
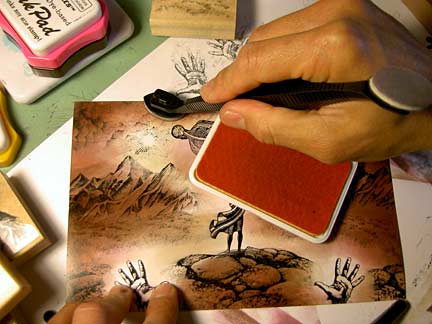
Additional Brilliance and Colorbox Pigment inks were added with a cotton tip (Q-Tip). The technique is to lightly dab on the ink to the scene in light layers. Dab some of the ink off the tip before applying to the paper. This way, you will avoid thick blobs of ink.
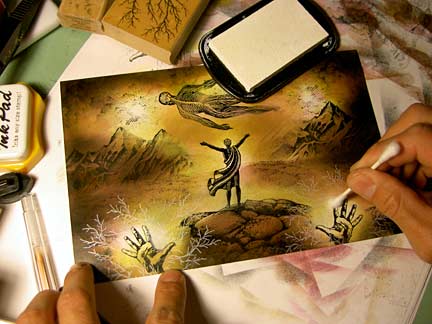
Applying the Colorbox ink.

Dabbing the ink around the hand.
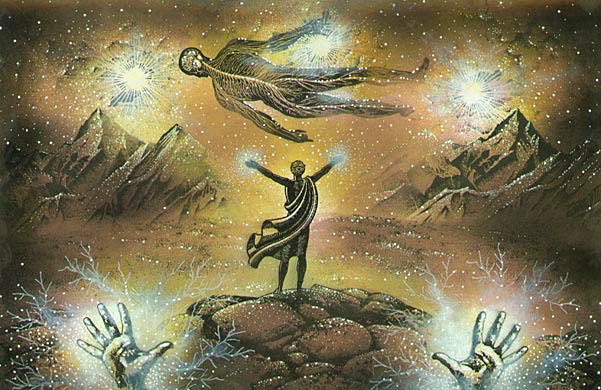
Big change here. Gel Pens were used to add little "dots of light" just about everywhere in the scene. I added them in white, copper, yellow and peach. In the white, I used two different sizes of pen tips. One gave me a small dot, the other gave me large ones. I used more dots around the light sources to make it appear as though light was emitting from the light sources such as around the hands. Little explosions of light.
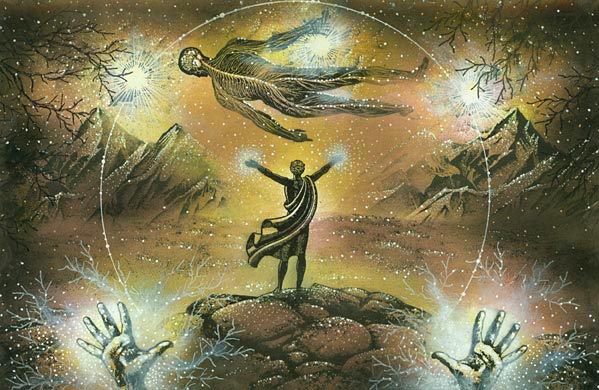
To add a bold graphic statement and to coral the figures, a circle was drawn --with a gel pen-- in the center of the scene.
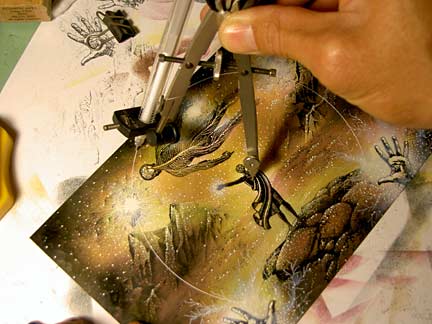
Drawing the circle with a compass w/multi tool adapter.