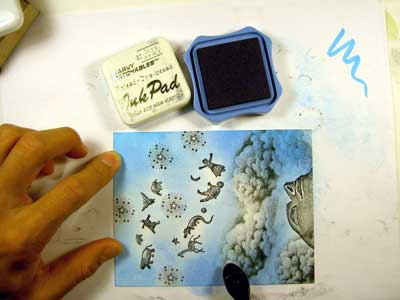
4.25" x 5.5" glossy card stock
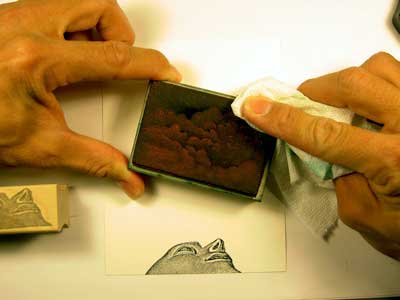

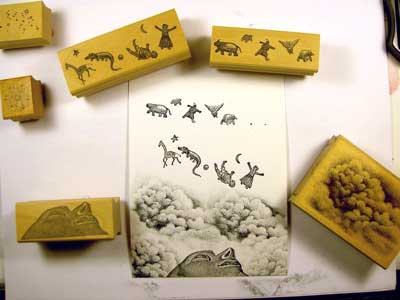

Cloud Cumulus was stamped four times using Marvy #1 "Black". To make the blending of the multiple images more fluid, I wiped off the edge of the cloud with a dry paper towel well. The edges of the cloud stamp in a lighter value this way and, thus, blends into the next impression much easier. I do this when I'm stamping the cloud in dark tones mainly. When using lighter values I usually don't bother since the edges wouldn't be very dark anyway. The face, stars and sky objects are by one of my favorite companies Leavenworth Jackson.
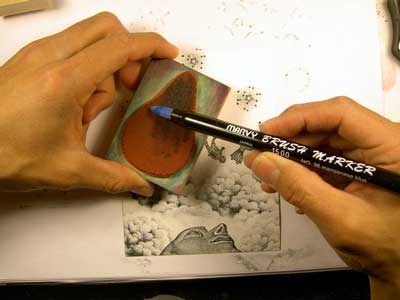
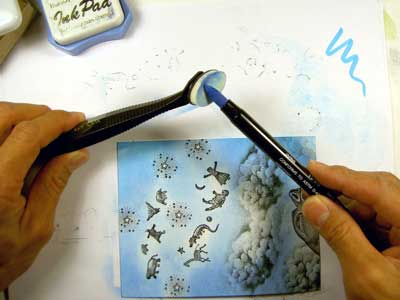
The Tonal Applicator was used with a Marvy Pen in Manganese Blue. Before raised dye based pads came onto the market the only things we used to color, basically, were these Marvy Brush Markers. Pads are so much more convenient these days but there's still some colors that I don't see out there that are available in pen form like this Manganese --a light and very bright rich blue.
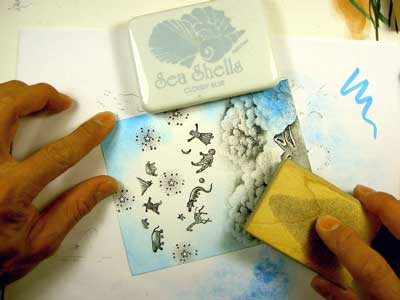
Okay, the Manganese Blue was a little too dark to start off with so I went back to a Ranger Sea Shells ink in "Cloudy Blue".
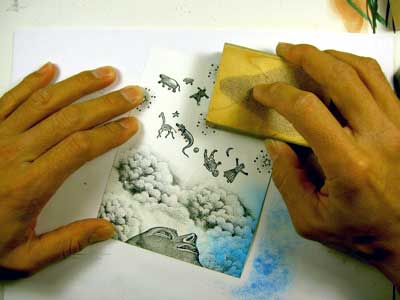
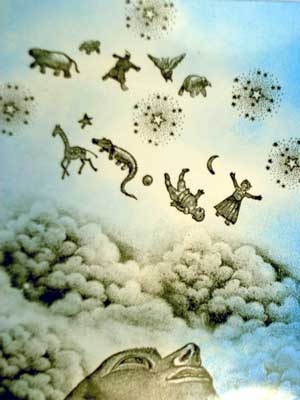
Sea Shells "Ocean Aqua" was added with a Stylus Tool. I switched from the Tonal Applicator to the Stylus because I wanted to get into some of the tighter areas between the objects in the sky.
Marvy #60 "Salvia Blue" was applied to the scene using a Colorbox Stylus Tool.
I had another Marvy Brush Marker. I think it was a Steel Blue that I used, once again with the Stylus Tool.

A Ranger Sea Brights "Pool" was applied. This is a pretty nice "warmish" blue. Very bright and rich. We don't carry it but we probably should.
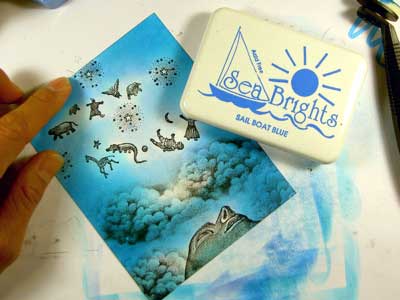

Ranger Sea Brights "Sailboat Blue" was applied.
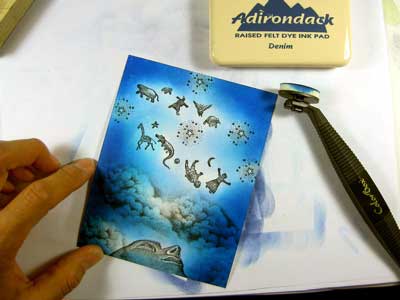

Ranger Adirondak "Denim Blue" was applied. One of the darker blues on the market. Nice.

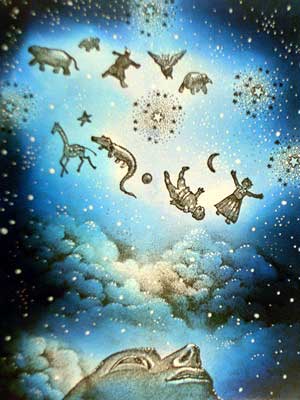
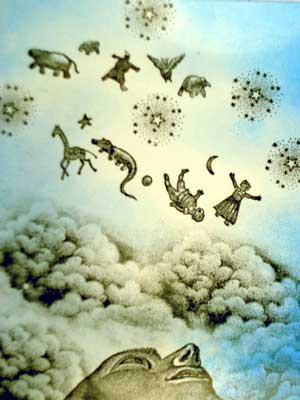
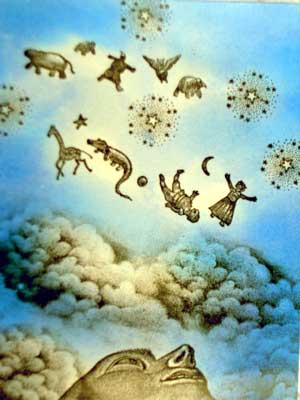
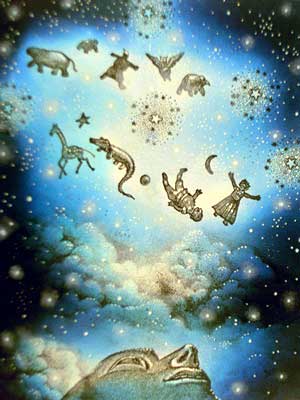
White dots were applied to the scene with a White Gel Pen. I try to cluster some stars and to keep things a little bit random. The inclination is often strong to apply these dots in a very symetrical pattern with dots perfectly spaced apart. I also used two different sizes of dots for variety. Gel pens often come in thin and medium points.
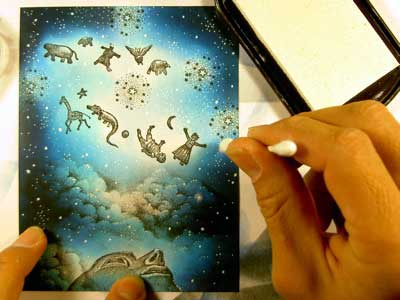
Here's the main point of the scene. To create these little glowing balls of light. I've done this in past scenes but I wanted to really feature them here. Easy stuff. Just take a cotton swab and dab some white pigment ink on to the larger gel pen dots. Don't have the swab overly saturated with ink.
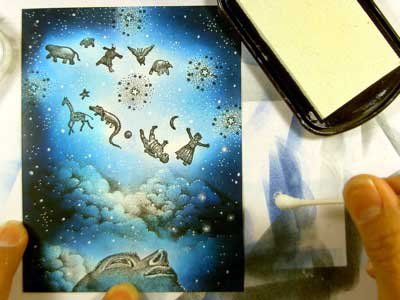
Glowing balls of light.
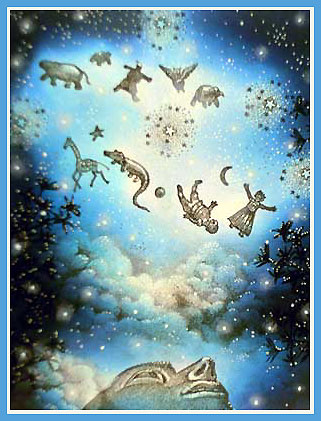
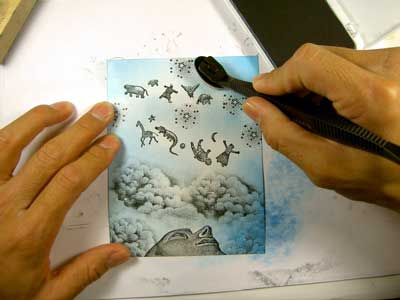
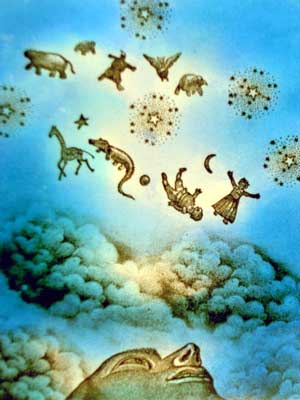
To add extra depth to the scene Foliage Lg. was added to the left and right foreground in black. I, then, proceeded to add additional white gel pen highlights to the Foliage.