8.5" x 11" glossy card stock
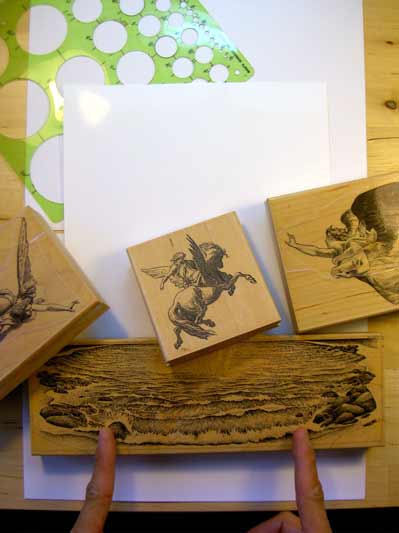
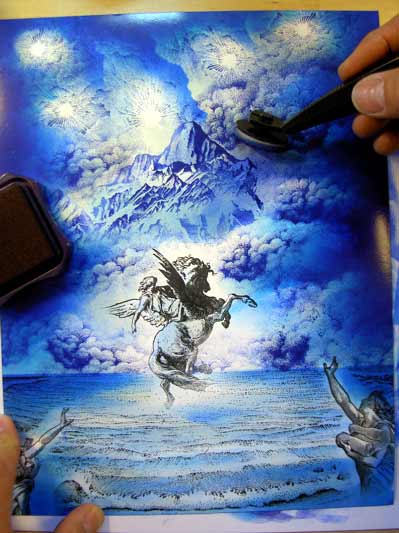
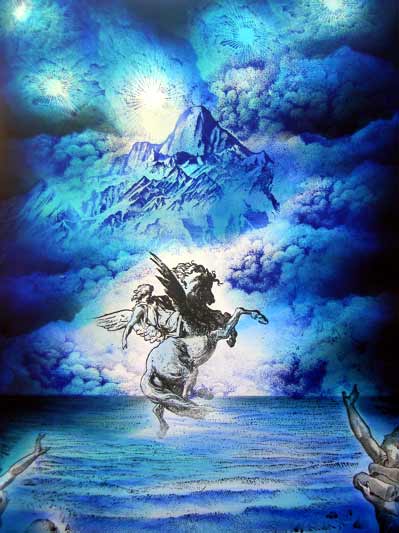
Seaside Cove 139H was stamped at the bottom of the page. I'm pointing out the section of the stamp that I'm planning on using. The Horseman/Pegasus is by Rubberstamp Ave and the two angels are by Marks of Distinction (great rs company name). I didn't want the foreground figures to be about being angels so I just used the front of the figures and not their wings.
I've dabbed off some ink off the bottom of the Horseman because I plan to make it look like he's rising from the mist.
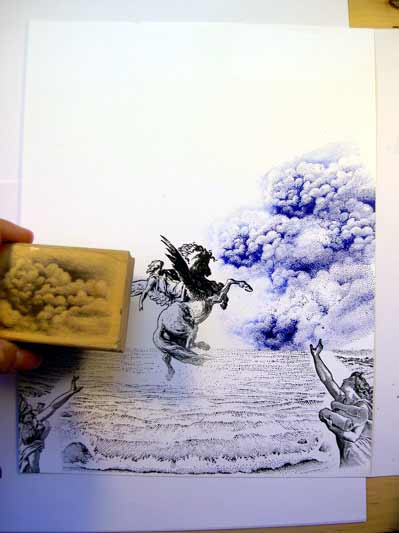
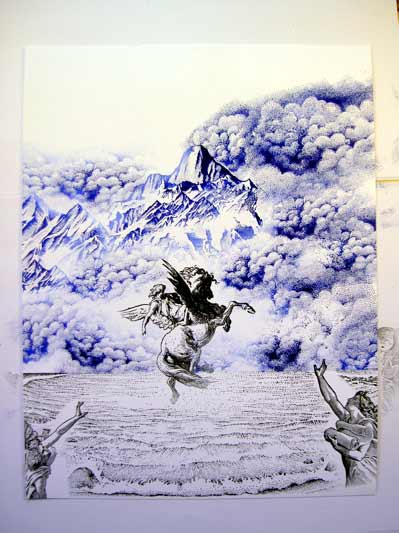
Rocky Peaks 188F, and Tall Peaks 182G were added in Marvy #3 "Blue" amongst more clouds.

Cloud with Sun Lg. 108G was stamped in Marvy #3 "Blue" five times. I thought I'd go for something different in this scene so we'll see what these lights will look like in the end.
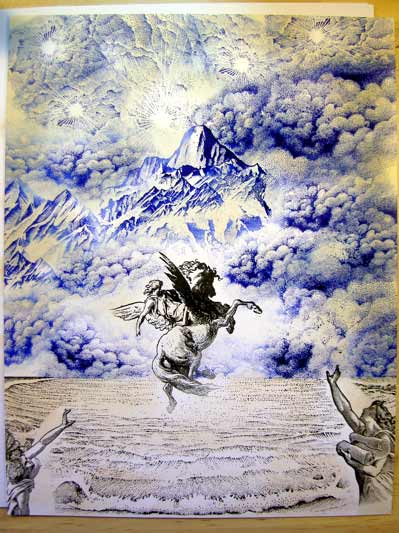
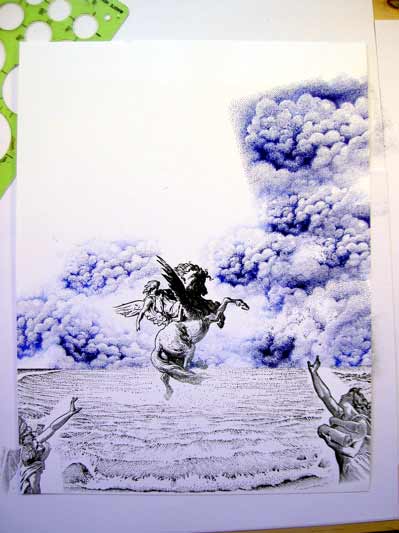
"Peach Bellini" Sea Shells was used as a base layer for this scene. Sometimes using a warm tone as the base for a cool hue composition results in a rich end result when it comes to the color scheme. The Sea Shells is a very light value as it's a shadow stamping color.
"Cloudy Blue" Sea Shells was used as the second layer. I'm moving into my blue tones now.
"Salvia Blue" Marvy ink was used as the third color. Shadows are becoming more defined. Be careful not to tone everything out. Keep your highlights.

"Light Blue" Marvy ink was used next. In these mid to darker tones I'm often using the Stylus Tool or sponge at an angle to apply smaller amounts of ink in a given tap as I don't always want the full oval sponge shape used.
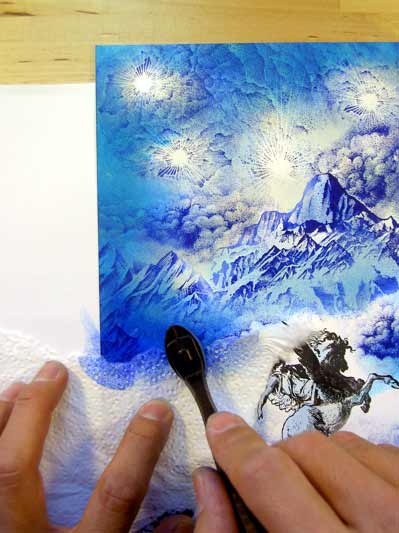
Ripped paper towel technique here. I've ripped a paper towel to give it a jagged edge and placed it along the cloud line. From there, I've sponged on additional "Light Blue" Marvy ink.
Adding "Blue" Marvy #3. I have my Stylus Tool at an angle here. For this dark color, I'm primarily using it in the deep shadows.
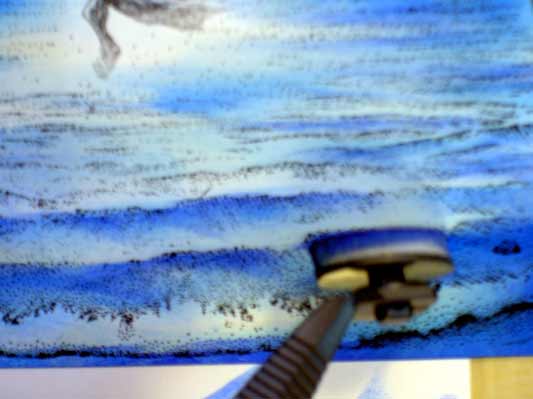
Stylus tool at an angle applying "Blue" Marvy #3 into the shadows of the waves of the Seaside Cove.
Prussian Blue was added here. I'm not feeling too great about the additional sun images at this time but we'll see.
Using more of the ripped paper towel technique, I've sponged in "Black" Marvy #1 on several sections of each side of the scene. I wanted more drama and variation to the background.
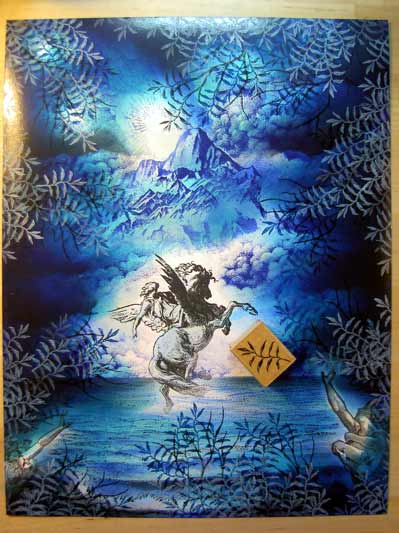
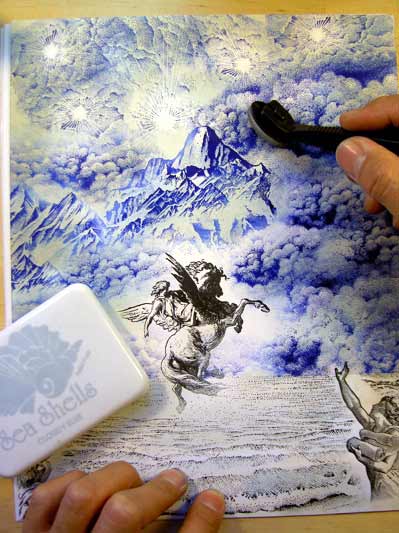
Okay, not only was I not feeling to great about the additional suns but I wasn't terribly happy with the entire scene so I just rolled the dice and positioned a hundred Leaf Sprig 127A in both black dye ink and "Frost White" Colorbox Pigment ink. It's like the "Little Stamp That Could". In some areas the Sprig is planted on Bare Branch 124F that was stamped in black.
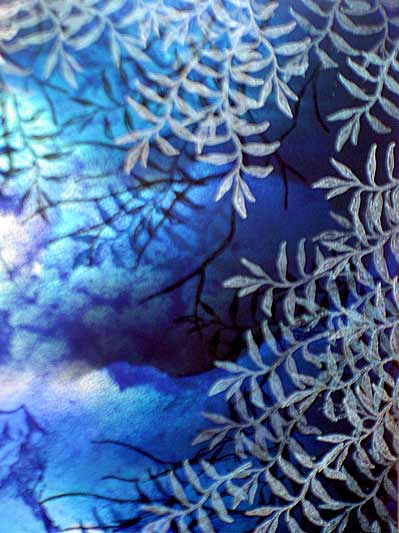
Close up of leaves.
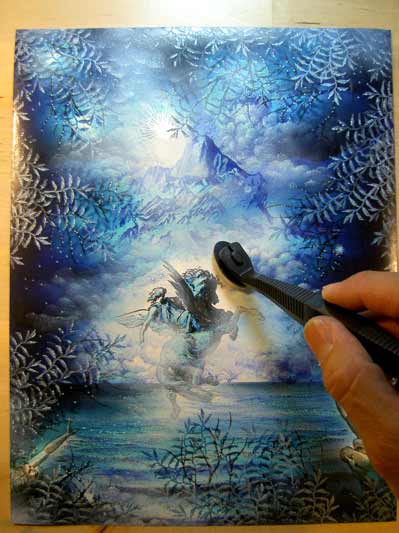
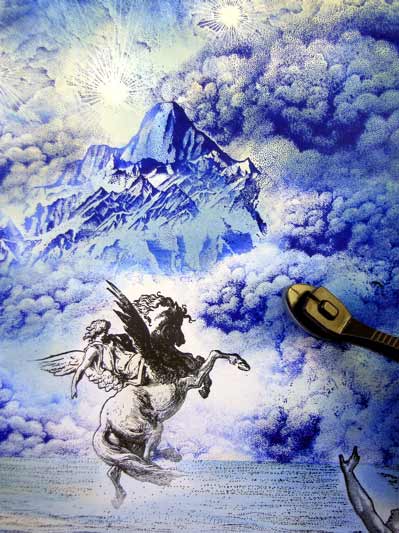
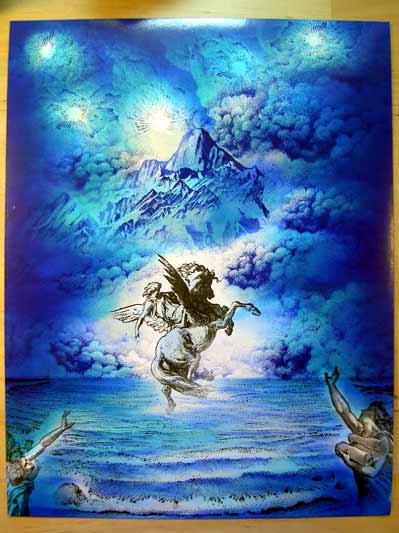
Using a Stylus Tool because I didn't have a cotton swab on me, white pigment ink has been lightly dabbed on to the scene to create a fog/mist on the clouds and surface of the water. I think this will add a great deal to the scene.
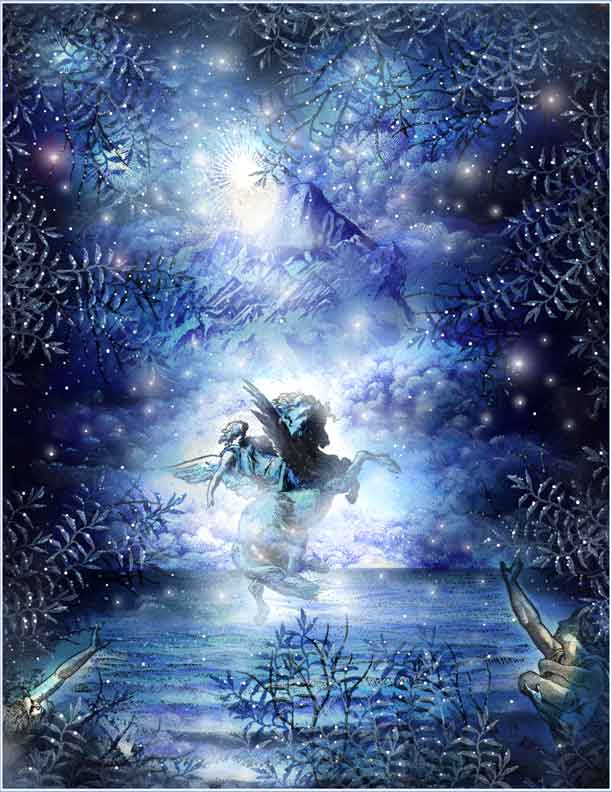
A white gel pen in two different sized tips have been applied as highlights and texture to the scene. Some have been illuminated with a "glowing" effect. See previous lessons to see how this is done with pigment ink.