by Kevin Nakagawa, CA 2007
3.5" x 5" Stampbord
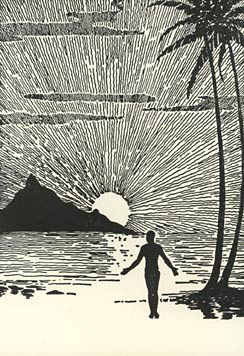
We begin this lesson with a 3.5" x 5" piece of rectangular stampbord and this stamp from Make and Impression out of Washington. Check out their store if you're ever in the Seattle area. They're in Issaquah just a few minutes outside of Seattle. The scene was stamped with black dye based ink.
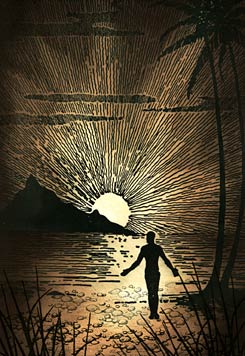
Using a Colorbox Stylus tool layers of dye based ink brown values were applied to the Stampbord. In addition to that, I added images: Reeds Lg. and Pebbles with black dye based ink. Apply your brown tones from the perimeter and work your way in. Use very light tones over the entire scene and apply darker brown tones only around the perimeter to create the illusion of emanating light.
Using a Scratch Knife highlights were scratched into the design. I've accentuated the rays of the sun by lightly scratching some of the ink off some of the beams. I didn't scratch down to the white surface of the board in most of the beams. If you scratch lightly you can reveal lighter tones of ink that you applied under the darker ones. In the pebbles, I've highlighted the tops of the rocks to give them dimension/volume and to create a textured surface of light and shadow.
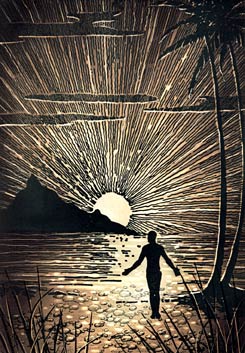
Palm Frond Lg. was used to create a border. Black and blue dye based inks were used to add additional hue and value to the fronds.
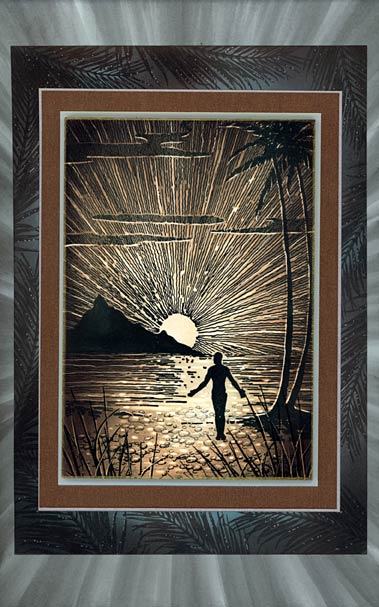
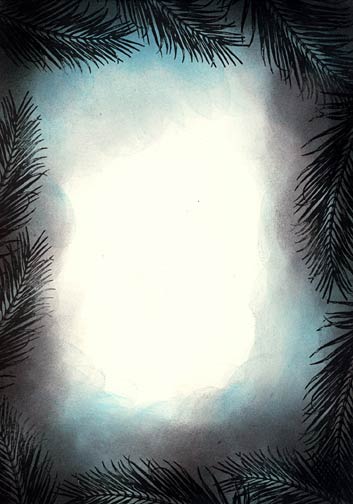
This is the scene matted with a few layers of various colored metalic papers. On the most perimeter matte I added streaks of black ink aimed towards the location of the sun to repeat that pattern.