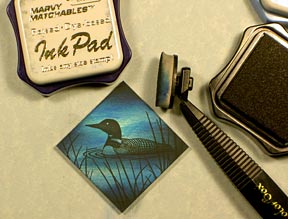
Here's a quick and easy application of Stampbord Mini Tiles.
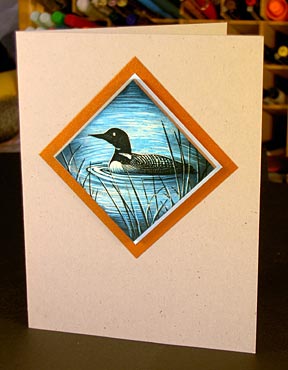
Original on 2x2" Stampbord. Tile sprayed with a Polyurethane clear spray (from Home Depot or the like) for a thick clear coating then mounted on colored and metallic paper.
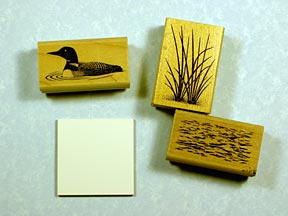
A simple composition of three stamps. Loon 260C, Reeds Lg 068D, and Water Pattern Sm 231C.
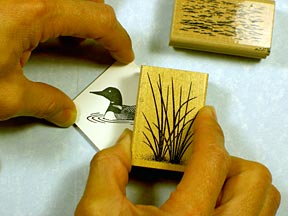
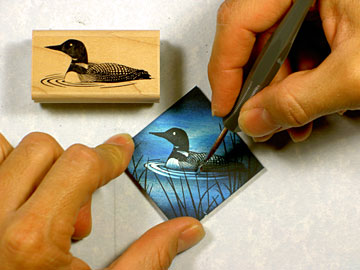
The Loon and Reeds are being stamped with a black dye based ink. I stamped the Loon first so placement of the Reeds Lg. could be made without covering up the Loon's face.
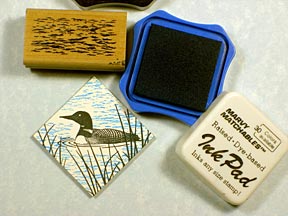
Water Pattern was stamped multiple times in a Marvy #10 Light Blue dye based ink. No masking needed.
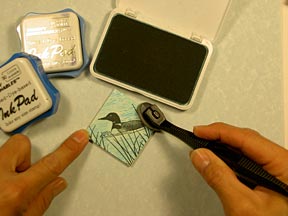
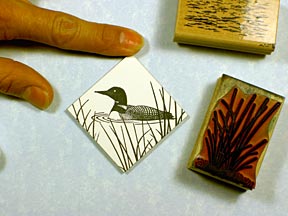
Ranger Industries' Sea Shells "Ocean Aqua" was applied to the tile with a Colorbox Stylus Tool. Coverage over the entire scene was made.
Marvy #10 Light Blue dye based ink was applied to the tile with a Colorbox Stylus Tool. I applied this ink around the perimeter of the tile, about 1/2" to 3/4" from the edge. You don't need to be perfect.
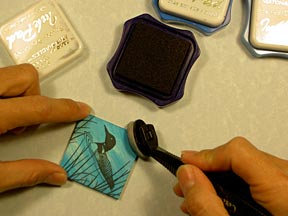
Marvy #3 Blue dye based ink was applied to the tile with a Colorbox Stylus Tool on the corners to frame off the scene.
Marvy #1 Black dye based ink was applied to the tile with a Colorbox Stylus Tool on the corners to frame off the scene even more.
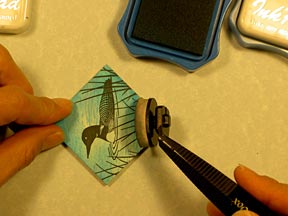
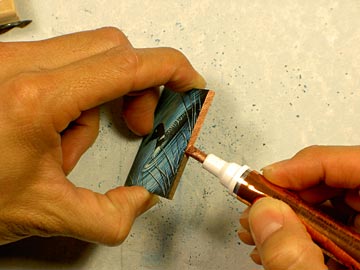
A Scratch Knife is being used to start the subtractive process. I started with highlighting the ripples.

I liked how the ripples looked so I added more to the scene above and below the loon.
I use Krylon metallic Leafing Pens on the edges of the bords which adds A LOT to the look of the tile. Return to top for finished mounted card.