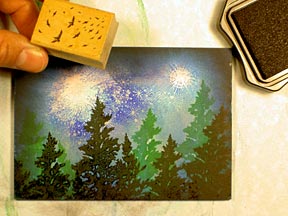
Trees form a nice foreground against a night sky.
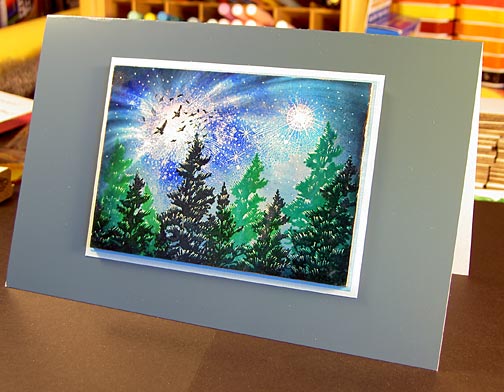
Original on 3.5" x 5" Stampbord. Tile sprayed with a Polyurethane clear spray (from Home Depot or the like) for a thick clear coating then mounted on colored and metallic paper.
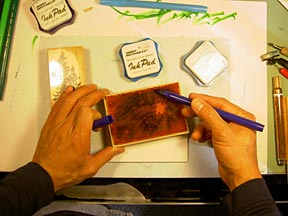
Coloring Nebula w/Star 114G with a Marvy Pen (dark blue). I then applied a couple different light blues with pens to create variation in the impression.
Variations of blue in the impression
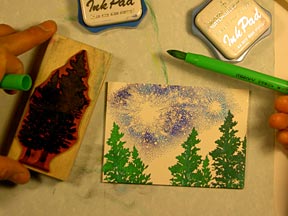
Coloring Spruce Lg 078F in the same fashion in variations of green.
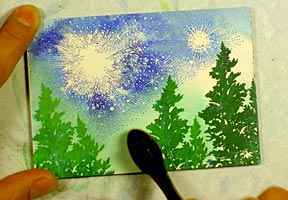
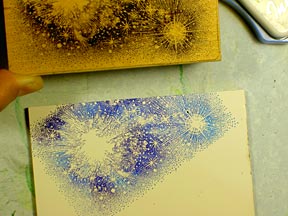
Here I'm applying a Marvy Salvia Blue dye based ink to the scene with a Colorbox Stylus Tool. Coverage over the entire scene was made except for areas within the nebula to keep that area light.
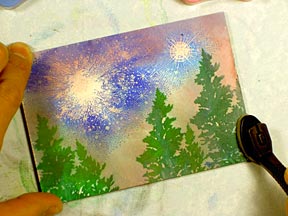
Marvy Bubble Gum Pink dye based ink was applied over most of the scene with the Stylus Tool.
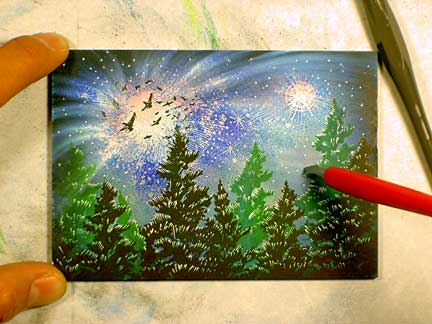
Marvy #10 Light Blue dye based ink was applied to the tile with a Colorbox Stylus Tool. I applied this ink around the perimeter of the tile about 1/2" to 1" into the scene.
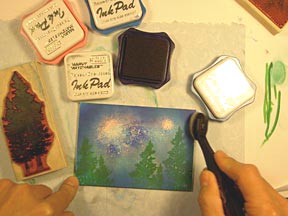
Marvy #3 Blue dye based ink was applied to the tile with a Colorbox Stylus Tool on the corners to frame off the scene.
Marvy #1 Black dye based ink was applied to the tile with a Colorbox Stylus Tool on the corners to frame off the scene even more. Flock Lg 113B was added into the scene to create a focal point and three impressions of the Spruce Lg were added to the foreground.
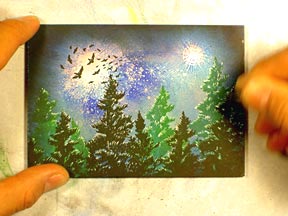
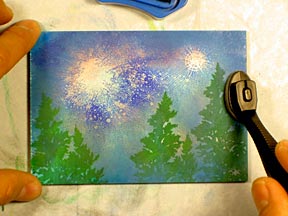
A Scratch Knife is being used to start the subtractive process. I started by highlighting the edges of the trees. I added most of the marks to the top side of the branches to make it look like the branches were being illuminated.
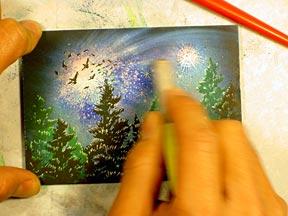
Using a Fiber Brush I started wiping whisps of light into the sky.
Flares of light in the sky.
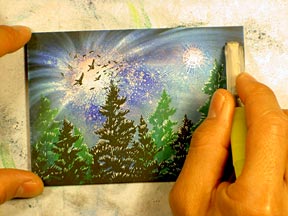
To finish off the scene I've added stars to the sky by using the scratch knife like a drill. Just drill the top layer of ink and try not to press so hard that you drill down to the wooden board. To see the final version of this scene, return to the top of the page.