Here's a quick and easy One Stamp application of a Stampbord 3.5" x 5" bord and Sycamore Leaf F1788 from A Stamp in the Hand Co. For information or ordering this branch call Rick at ASITH:(310) 884-9700.
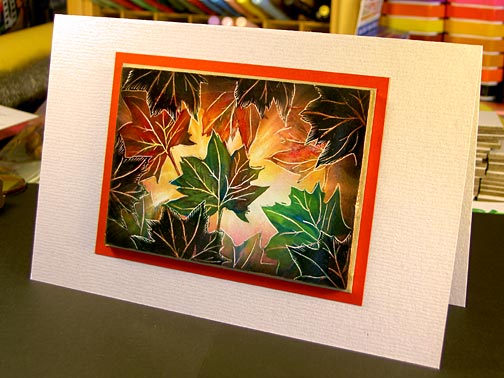
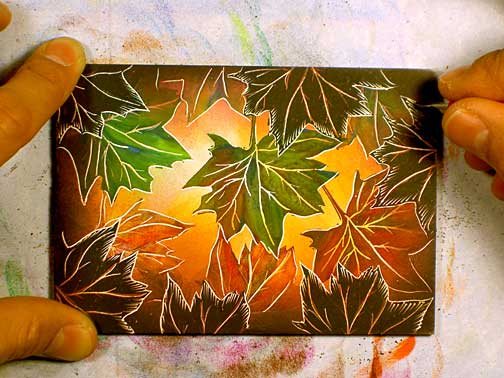
Original on 3.5" x 5" Stampbord. Tile sprayed with a Polyurethane clear spray (from Home Depot or the like) for a thick clear coating, edged with a Krylon metallic leafing pen then mounted on colored and metallic paper.
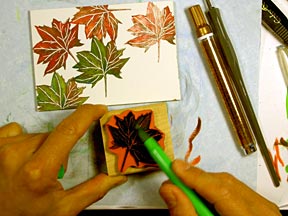
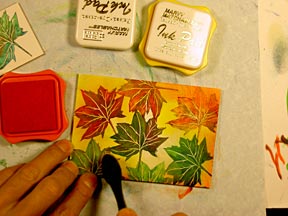
Coloring the Sycamore Leaf with Marvy Pens in dark and light green, oranges and reds. I wanted a range of values and hue on the leaves so I used pens instead of a pads. With pens you can blend colors directly on the stamps.
Fall foliage.
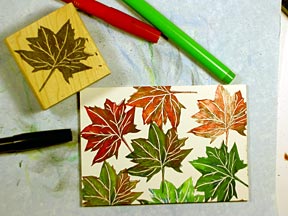
Applying yellow dye based ink to the scene with a Colorbox Stylus Tool. Coverage over the entire scene was made.
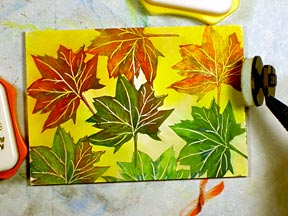
Marvy Matchable "Orange" was applied to the tile with a Colorbox Stylus Tool. I worked from the edges of the scene towards the center of the bord (out to in) leaving some of the center light. This gives the appearance of light coming from within the scene.
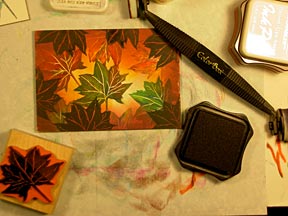
I applied red and then black dye based ink was applied to the tile with a Colorbox Stylus Tool on the corners to frame off the scene. Additional leaves were then stamped in black around the edges of the scene to push the depth.
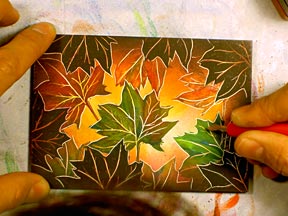
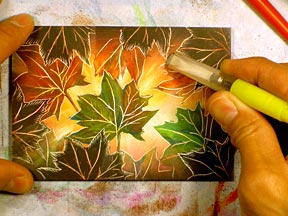
With a scratch knife, I outlined the leaves and redifined the veins in the leaves making them white again.
For a little extra texture, I scratched out highlights on the perimeters of the black leaves. I did these little hatch marks by placing the point of the scratch knife on the perimeter outline and, with a little pulling/swiping motion, swiped a little mark into the leaf.
I wanted to add an element of light into the scene so, with the Fiber Brush, I started "wiping" off color in swiping motions little by little to reveal flares of lightness. The Fiber Brush acts like an eraser on dye based ink on Stampbord. How fast the ink is removed depends on how much ink you've laid on your bord. In this case I had to remove quite a bit of saturated ink before I started getting back to the white surface of the Stampbord. To see the final piece, return to the top of the lesson.