Phone Home
Note 1: This piece of artwork uses 2 tags.
Note 2: The paints used for the sample are called Faerie Myst. Do note that Radiant Pearls or watercolors would work well too.
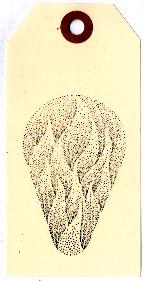
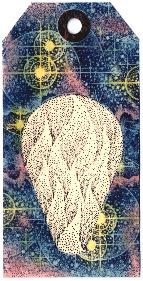
Tonal Applicator Flames 116E is stamped with Ranger Archival Jet Black ink on tag.

Using an exacto knife, cut the stamped image out about 1/8" outside of the outer line of the stamped image.. (cut it larger than the stamped image) This will allow the window of this tag to be a tiny big larger than the image that will be behind it.
Dark Cloud Small 209C is stamped on the top and bottom of the tag with Ranger Archival Cobalt ink.
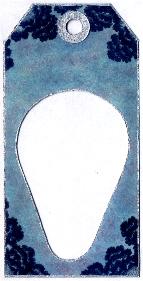
Paint the entire tag light blue. Next, stipple medium blue over the light blue and then stipple light red (or pink) here and there on the blue as accents for visual interest. Paint dark blue on the darkest areas of the clouds at top and bottom. Edge the tag with a silver paint pen. This is your Frame Tag.
Next three scenes:
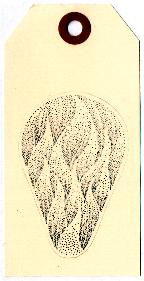
Lay the frame tag on top of a new blank tag. Line up the edges evenly and lightly trace the opening onto the blank tag. This will help you know where to stamp on that second tag so that it will show through the window on the frame tag.
Tonal Applicator Flames 116E is stamped with Ranger Archival Jet Black ink on the second tag in the middle of the area you traced. Set aside frame tag.
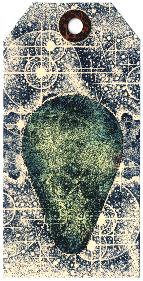
Erase the shape you traced with a pencil on the second tag and mask the stamped image. Star Birth 217G is stamped with Ranger Archival Cobalt ink to fill in the background.
Stipple pink, yellow and blue over the background Star Birth image. Remove mask.
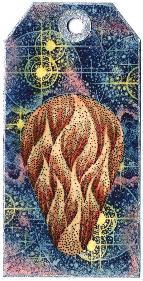
Paint tonal applicator with yellow, orange and red. Color the hole reinforcement tab at top with a silver paint pen and edge tag with the same silver paint pen.
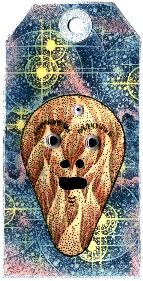
Glue small wiggle eyes on the tonal applicator image and draw facial features with a black pen. Trace the edge of the tonal applicator image with a black pen to further define its shape. Your second tag is now finished.
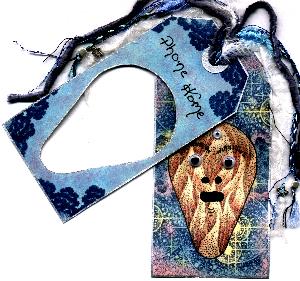
Print your message at the top of the frame tag. Lay frame tag on top of second tag, thread specialty fibres through holes of both tags and pull tight. Add beads to fibres if desired.
"Phone Home" by Tyra Smith, September 2000
Finished Size: 4.75 x 2 3/8 inches
Images: Stampscapes®: 116E Tonal Applicator Flames , 217G Star Birth, 209C Dark Cloud Small
Materials: Tags, specialty fibres, beads, wiggle eyes, Zig Silver Painty Pen, Ranger Archival Ink pads, black pen.
Colour: Faerie Myst