Moonlit Cabin
Note: Please read through the Masking instructions and Pastel Pencil Tips prior to reading the lesson.
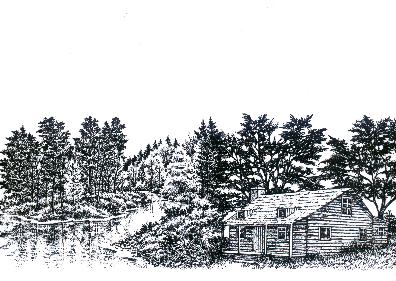
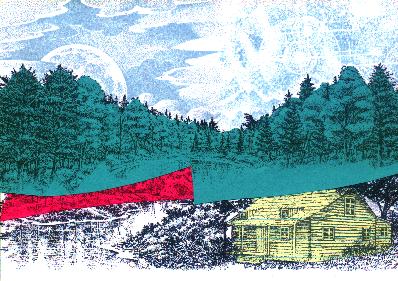
Cabin Large 141G and Autumn Brook 212G are stamped with Ranger Archival Jet Black ink.
Mask the cabin and the top of the tree line above the Autumn Brook.
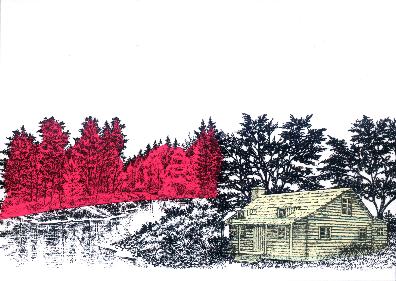
Autumn Bank Right 214G is stamped with Ranger Archival Jet Black ink above the cabin. Autumn Bank Left 213G is stamped with Ranger Archival Jet Black ink above the masked trees of the Autumn Brook.
Be sure to wipe off the ink in the water area of both Autumn Bank stamps prior to stamping it on your card stock. This will fill out your landmass.
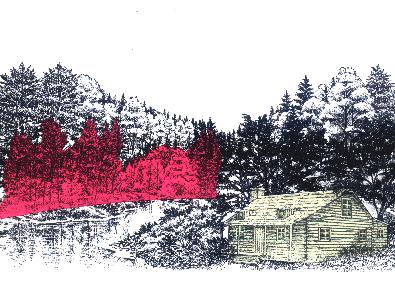
Mask the tops of the trees of both Autumn Banks you just stamped. This is mainly to protect the oak trees that have more white space in them than the pines do.
Cloud w/Rising Moon Large 198G and Star Birth 217G are stamped with Memories Soft Stone ink.
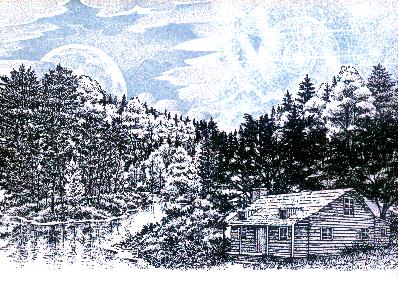
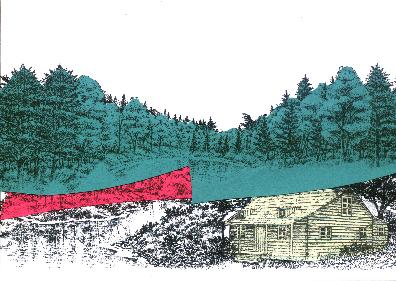
Remove masks. You are now ready to begin adding color with the pastel pencils.
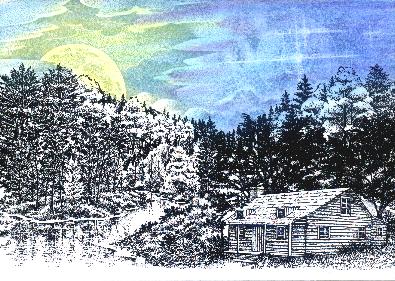
Using a yellow pastel pencil, apply color to the moon and into some of the surrounding clouds closest to the moon. Blend the yellow into the card stock with a stump. Using a light blue pastel pencil, apply color over the sky area and then blend with a stump. Use a medium blue pastel pencil to apply color over the sky area and blend with a stump to darken the sky. Use a dark blue pastel pencil and apply color to the right side of the sky which is farthest away from the moon, blend with a stump. This will make that portion of the sky darker. Do not worry about getting blue on the tops of the trees, this will lend a natural shading effect later. To add some visual interest to the sky, add some streaks of pink into the clouds and blend with a stump. To bring out the shape of the stars to the right where the Star Birth image was stamped, use a white eraser and remove/erase color along the lines of the stars.
Using a light green pastel pencil, apply color to all the trees and the ground areas, blend with a stump. Using a medium green pastel pencil, apply color over all the pine trees and the shaded areas of the oaks, blend with a stump. Using a dark green pastel pencil, apply color over the pines only, blend with a stump.
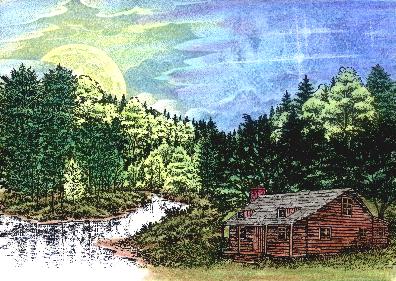
Using a light brown pastel pencil, apply color over ground area, then apply medium green over the ground area. Blend both colors together with a stump. Using a red pastel pencil, light apply lines of color over the wood of the cabin, do not try to get a full coverage of color, just streak it in here and there. Using the light brown pastel pencil, apply color over the entire wood part of the cabin. Using a blender pen, blend the red and brown together coloring over the entire wood portion of the cabin. Remember to periodically wipe the blender pen on a paper towel to remove excess color. Using a medium gray pastel pencil, apply color to the roof and blend with the blender pen. Using the red pastel pencil, color over the chimney and blend with the blender pen.
Using a light green pastel pencil, streak color through water area. Using a light blue pencil, apply color over water area. Use a blender pen to blend the entire water area.
Using a dark blue pastel pencil, scribble on scrap paper. Wipe a blender pen across the area you scribbled and brush it over the shadow areas of the water. Spray with fixative.

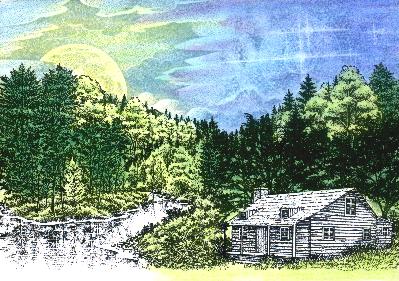
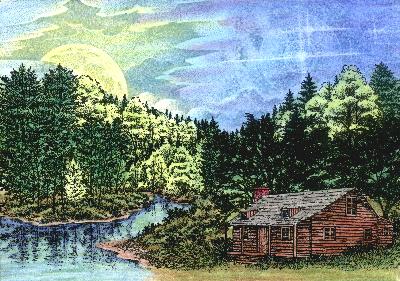
At this point, I feel that the sky is too light yet for a night scene. To darken the sky, use a dark blue pastel pencil and streak in color along the top and both sides of the sky, blend with a stump pulling the color from the outside inwards. Repeat the process with a purple pastel pencil. Remove/erase color along the areas of the stars as you did in step 7 above. Spray with fixative.
"Moonlit Cabin" by Tyra Smith 2000
Finished Size: 5 x 7 inches
Images: Stampscapes®: 141G Cabin Large, 198G Cloud w/Rising Moon Large, 212G Autumn Brook, 213G Autumn Bank Left, 214G Autumn Bank Right, 217G Star Birth
Materials: Ranger Archival Ink pads, Memories ink pads, stumps, Beckett Expressions 80# Card stock/Iceberg, Dove Blender Pen, Spray Fixative/Matte, post-it notes, exacto knife.
Colour: Bruynzeel Design Pastel Pencils