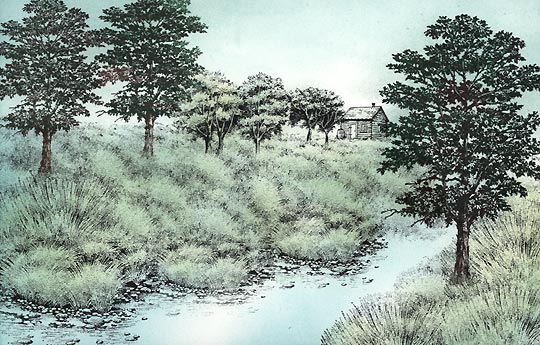
Mauve Mist
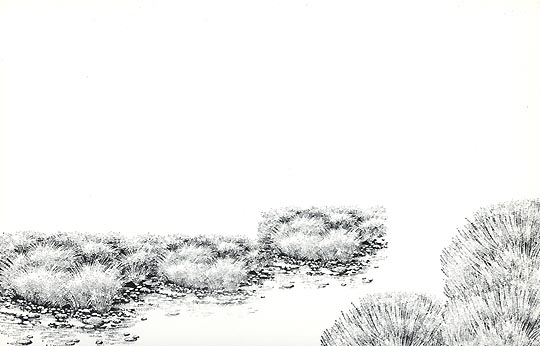
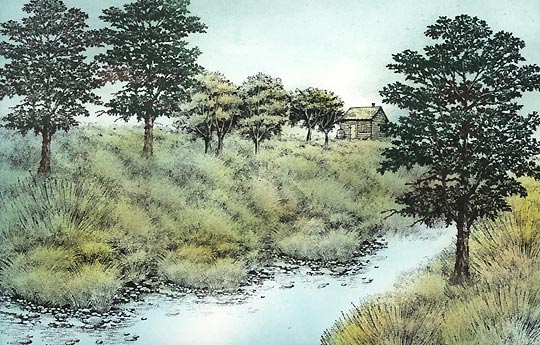
Sedge Cluster-250E (left),
Sedge Cluster sm.-265D (stamped twice),
and Tall Grass-253D (three impressions on right side) were stamped in black.
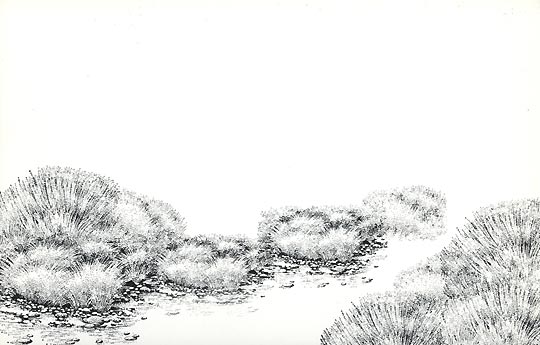
Tall Grass-253D was stacked on top of the left side Sedge Cluster.
Tall Grass sm.-254B was filled in three different areas.
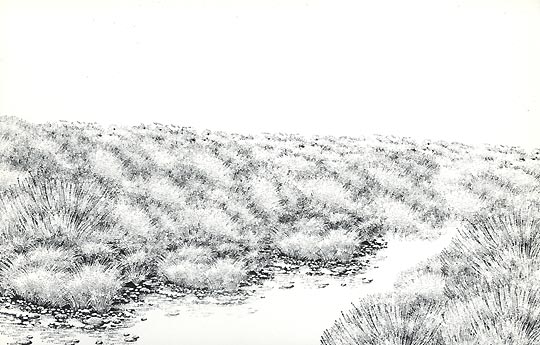
Tall Grass sm.-254B was stamped in profusion. I've stamped it at an angle as I wanted to give the area a slope leading down to the blank area --which will become a stream.
The Sedge Filler-251C was used to "cap off" the top of the grassy slope. We now have a foundation for our subjects. I say subjects, but in this scene, the real star will be the grass.
Two impressions of Shagbark Hickory sm.-241E, and one of Shagbark Hickory-242G was stamped. The trees were all colored in a couple shades of green, a dark brown, and black for variation.
Maple Pair-239D, Maple Trio-240B, and Cabin sm.-248A were stamped in black.
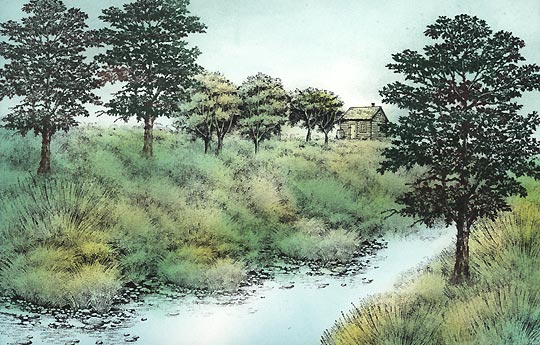
The Tonal Applicator-084E was used in Ranger Industries (R.I.) Sea Shells Ocean Aqua. I left some areas of the grassy slope, the water and sky the white of the page. These are the areas where the depiction of light will be.
(R.I.) Sea Shells Sea Grass was used with a Colorbox Stylus Tool. I needed to get into some specific tight areas such as the Maple Pairs, and I wanted to avoid certain areas of the grass so this stylus tool was the perfect applicator for this. I like using the oval-shaped tip. The group at The Pampered Stamper in Mesa, AZ introduced me to this tool --thanks guys (gals actually)!
(R.I.) Sea Shells Peach Bellini was applied with the Colorbox Stylus Tool. A "warming" up of the foliage begins with this pale yellow color.
(R.I.) Sea Brights Beach Ball Yellow was used with the Stylus tool. The Sea Brights line is much brighter than the Sea Shells and makes a nice layer at this point in the process.
A Marvy Pale Green #34 was used here with the Stylus tool. You can really start seeing the variation of lighting within the grassy areas now.
R.I. Sea Brights Pool was added in the grass, water, and sky. In the grass and water area, the stylus tool was used. In the sky the Tonal Applicator-084E was used. Pool is a kind of bright but deep sky blue. In the grass area, it doesn't read as blue but blends in with the greens and yellows, already applied, and reads more as variations of green and blue-green.
R.I. Adirondak Lettuce was used in the grass with the stylus tool and R.I. Sea Shells Tropical Raspberry was used in the sky with the Tonal Applicator. You only see pink where the white of the paper remained. In the blue areas that received a layer of pink we now see violet as these dye inks are transparent.

Marvy Bubble Gum Pink #67 and Marvy Pale Violet #31 were applied with the T.A. in the sky and water. In the grass, Marvy Ochre #13 and Marvy Pine Green #72 was used sparingly to create further depth in the grassy lumps.
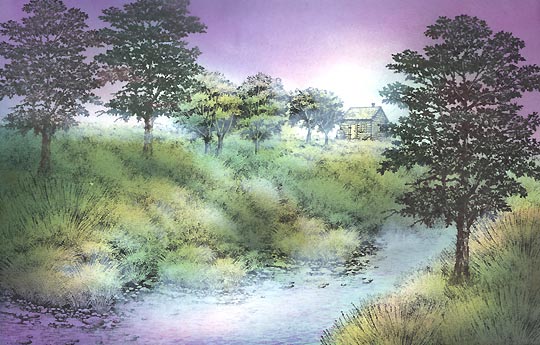
Water Pattern (sm) was used in the water to create texture. It was stamped in light shades of the same color scheme already used in that area --such as pale pinks and purples. The mist/fog effect was added using Colorbox Frost White and Brilliance Moonlight White pigment ink pads applied in a dry dabbing cotton swab technique. Very thin layers were built up. I wanted to push the cabin and far trees further back in space so I lightened them in this technique. I wanted a bit of fog to be rising from the surface of the water so I fogged it over a bit. Again, build this type of effect up gradually. Let one layer dry and go back into it with more if you want a more opaque area of white ink.

Add sparkle and highlights to your scene with Milky Gel Rollers. In this case, pastel green, orange, yellow, blue, pink, and white were used. All of these colors related to the color scheme used with the dye-based inks so I used them here with the gel pens. These highlights really pick up the blades of the grasses as well as highlighting in the tress. Kind of lends itself to a more whimsical feel.
